Series Contents:
- Introduction (You’re Here!)
-
Part 1: Composition
-
Part 2: Lighting
-
Part 3: Color
-
Part 4: Post Processing – Global Adjustments
-
Part 5: Post Processing – Local Adjustments
-
Part 6: Post Processing – HSL
In these days of Instagram, Facebook, Snapchat, and whatnot, we get bombarded with pictures. That’s because photography has become so accessible, and that’s awesome! Almost everyone has a camera of some sort, be it a smartphone, point and shoot, or DSLR. Snap, upload, done!
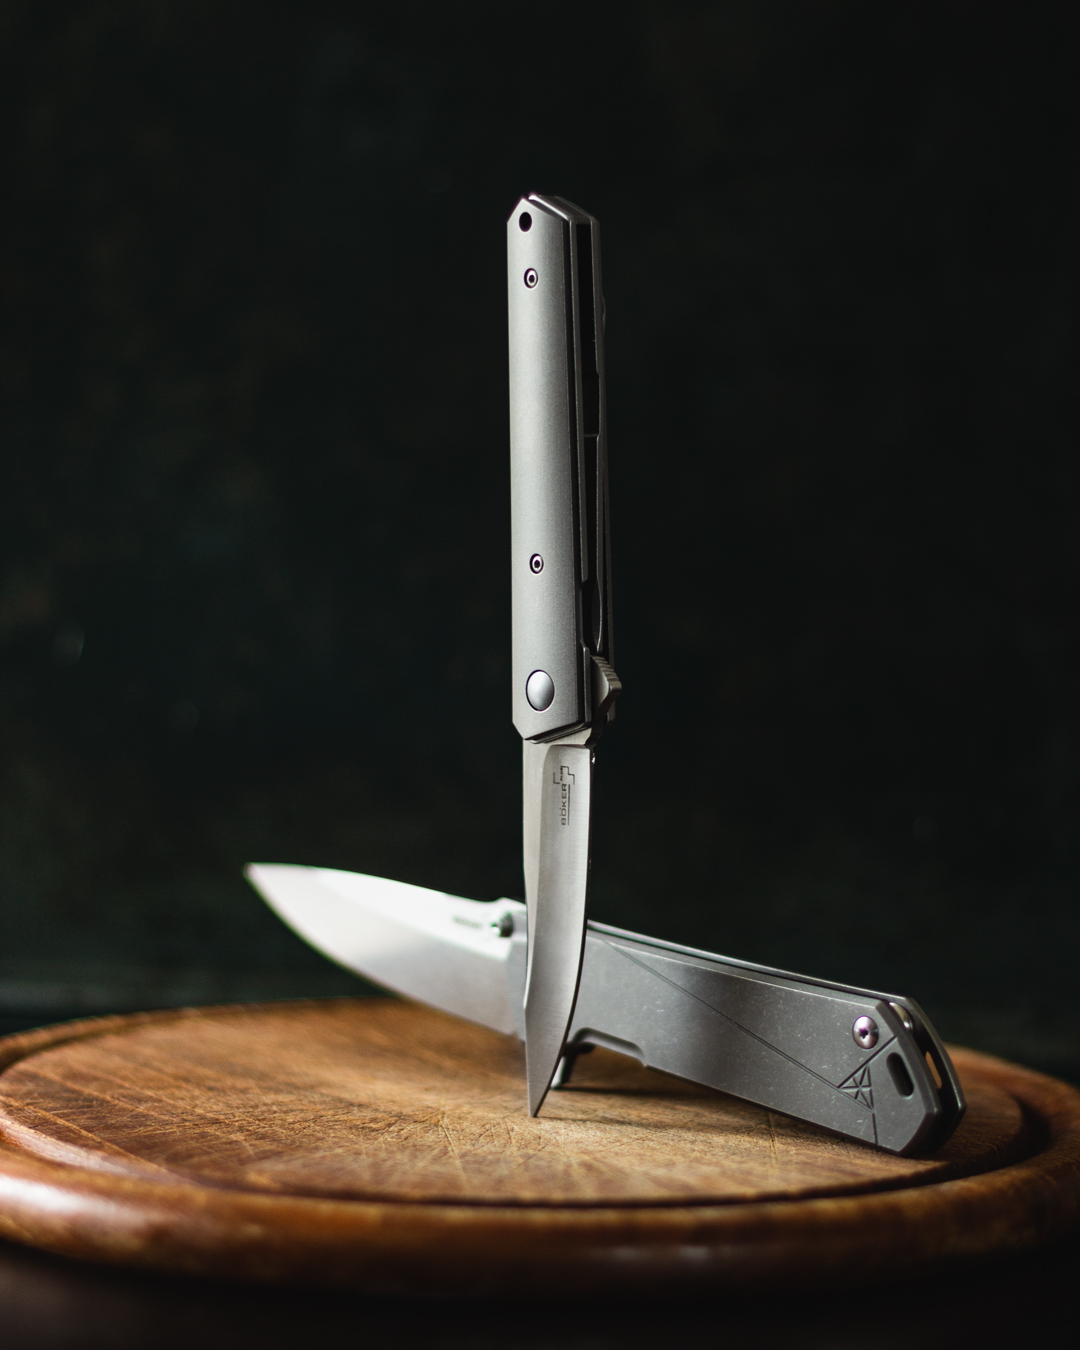
But every once in a while, when scrolling through your feed and stories filled with photos of knives, watches, and other everyday carry gear, you come across a photo that makes you pause for a second. These are the pictures that stay in your memory, and maybe you’ll even tell your friends about them.
What exactly makes these photos stand out?
It’s intention! The intention of actually taking a photograph instead of a snapshot.
I can already hear people saying, “Yeah, but you need expensive cameras, lenses, lights, remote controls, backdrops, and a studio!”. Yeah, all those things definitely help to create a controlled environment, but they’re not mandatory. Instead, it’s the knowledge of composition, lighting, and colors that one applies intentionally to any situation at a given time that makes a photo remarkable. You don’t need any equipment whatsoever. Well, besides something that takes pictures, obviously.
In this series, I’ll try to shed some light on a few of these topics and show you some tips and tricks that you can use the next time you take out your camera. You’ll be surprised at how just a few tweaks here and there can elevate your photos to the next level.
Now just to be clear: this series is not supposed to be the be all end all bible to everyday carry photography. It’s only a rough guideline and a collection of things I’ve learned and picked up over the years that may help you take better photos.
Still interested? Buckle up and join me on this ride as I break down different photography topics into bite-sized chunks.
First stop: Composition!


6 thoughts on “EDC Photography: Introduction”